With the work of 1 year away from home, I am back to Singapore and thus able to be with my old hobbies – DIY audio. During this time, I was approached by a DIYer about the modification of the D1V2 (http://www.fetaudio.com/archives/23) board to use USB input for network audio. After some discussion, the DIYer is able to make it work and here I share the details of the modifications of the USB to PCM63 DAC with permission. I keep all the original text of the modifications and only added few comments in the text.
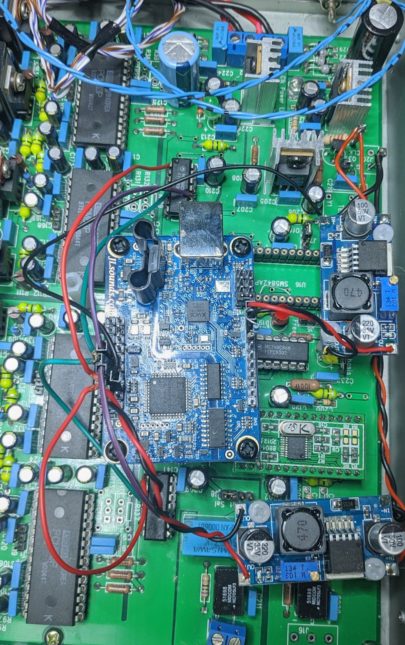
Picture of the Modifications: