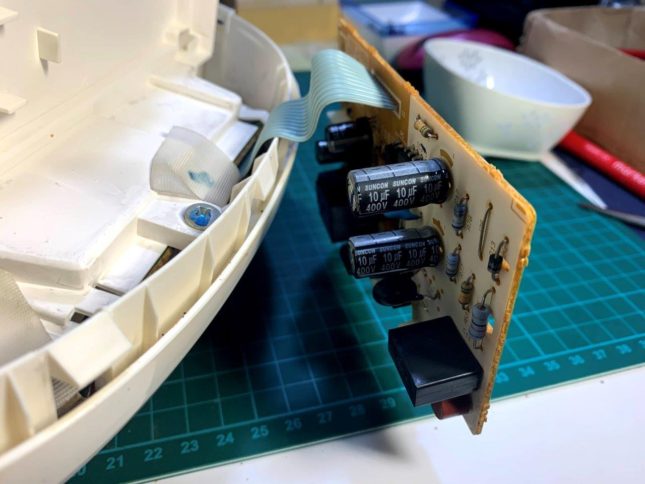
The equipment also have RIFA cap and thus cleaning and service is needed.
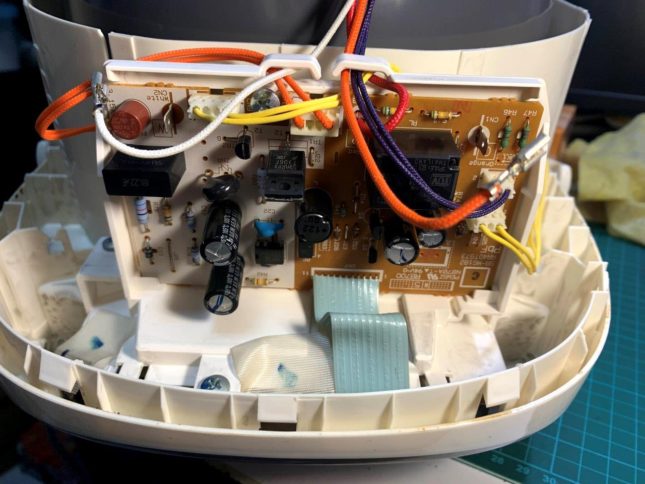
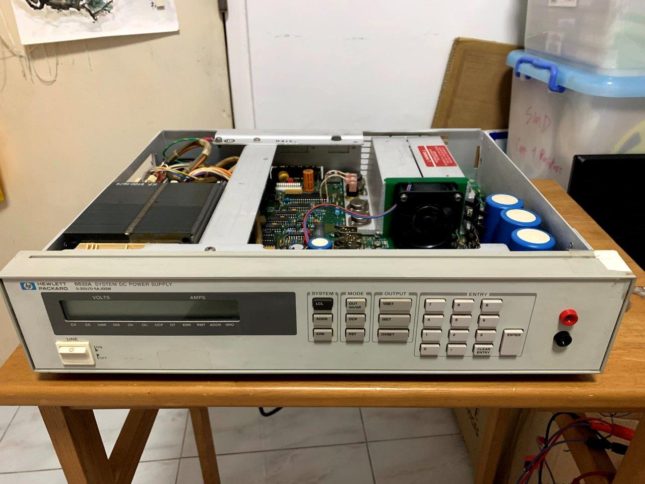
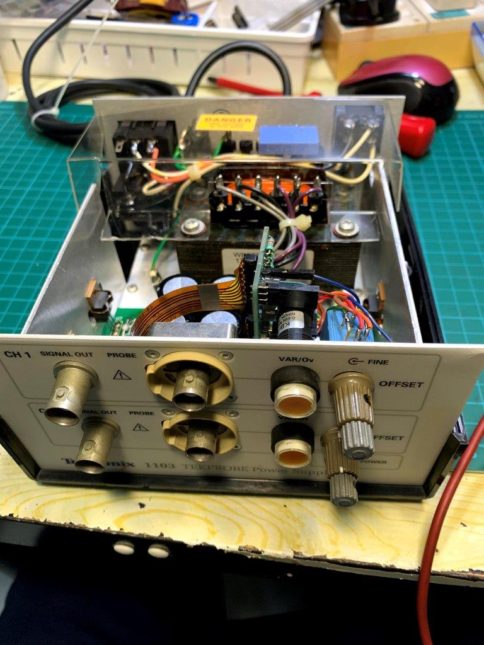
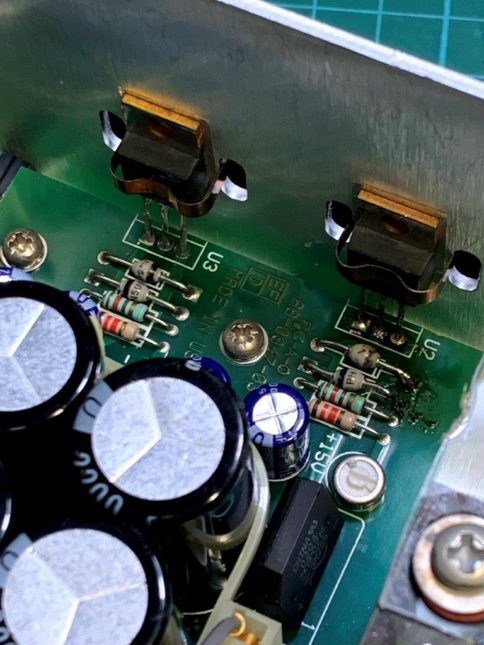
- Some inside photos.
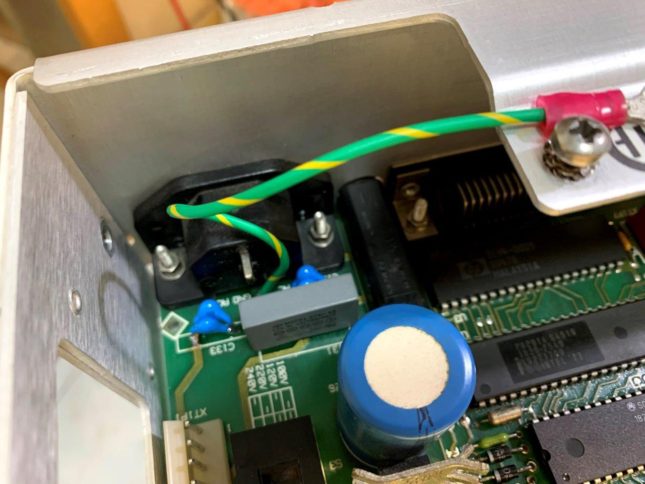
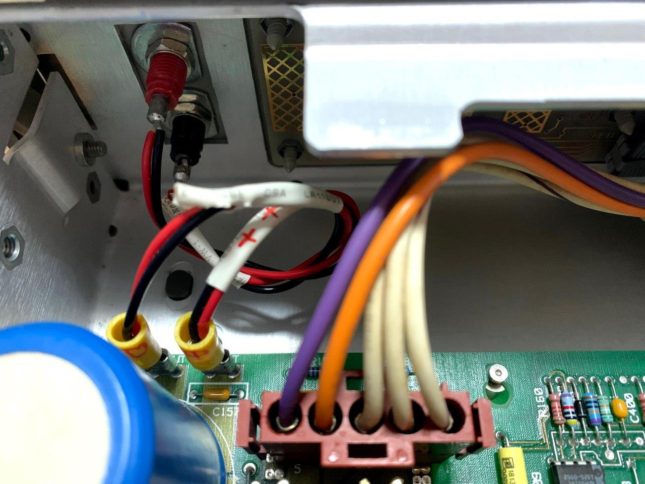
- Changed all 3 RIFA capacitors as they have body crack.
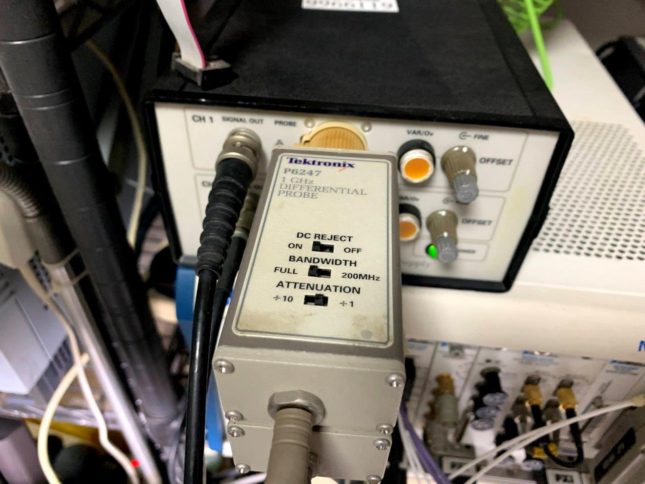
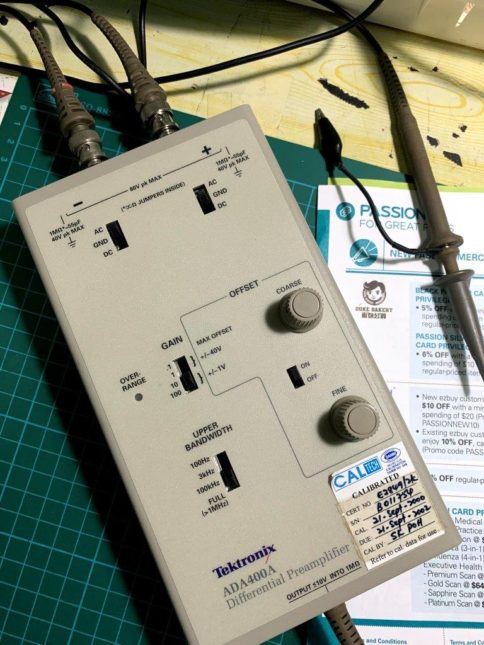
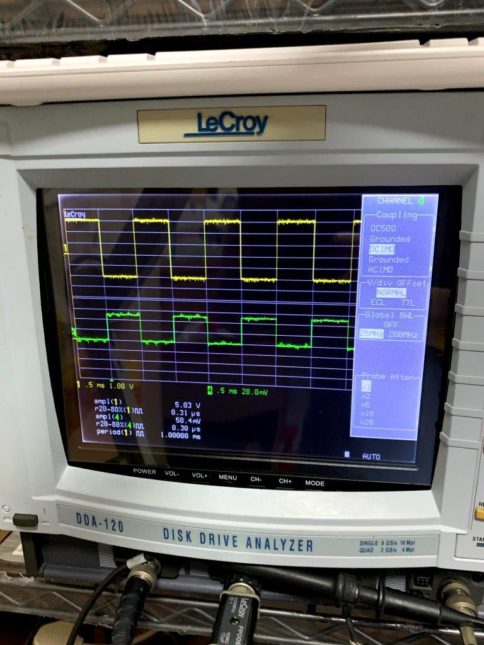
- This set come with precision time base 10Mhz clock but the clock do not look very square wave in scope. Jitter is about 30ps, not the best in class.
- The battery inside still above 3.2V after >25 years.
- After assembly back, found the output amplitude is not able to set within 1 to 10V, thus there is an issue with the amplifier section which need further trouble shoot! Frequency setting is fine.
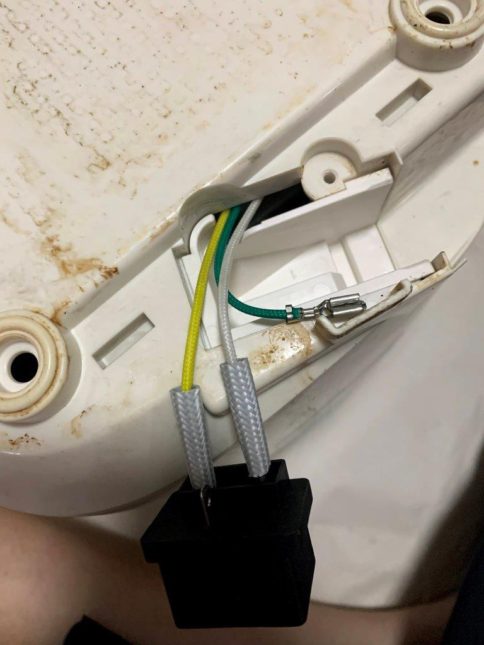
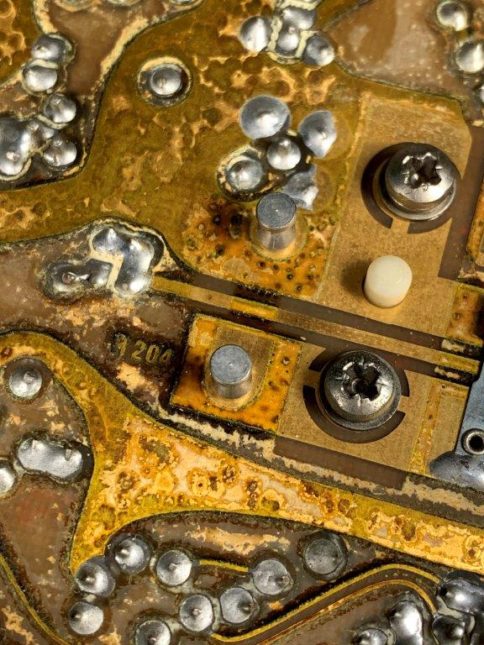
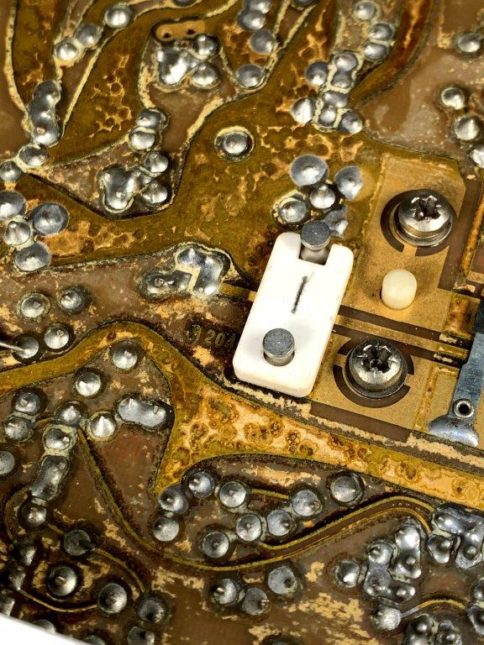
- The problem on this sig gen was identified as the power switch one side open circuit at power ON position. Fixing the power switch and the signal gen is back to normal.
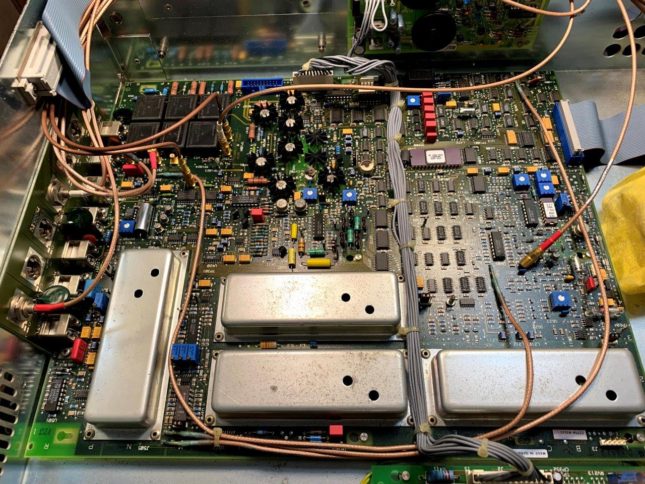
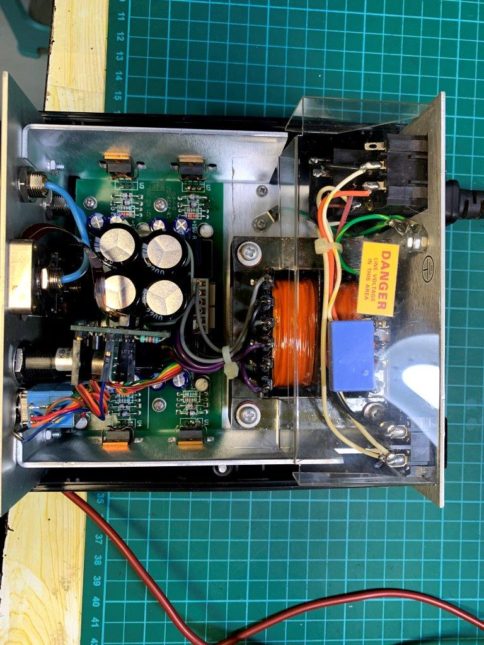
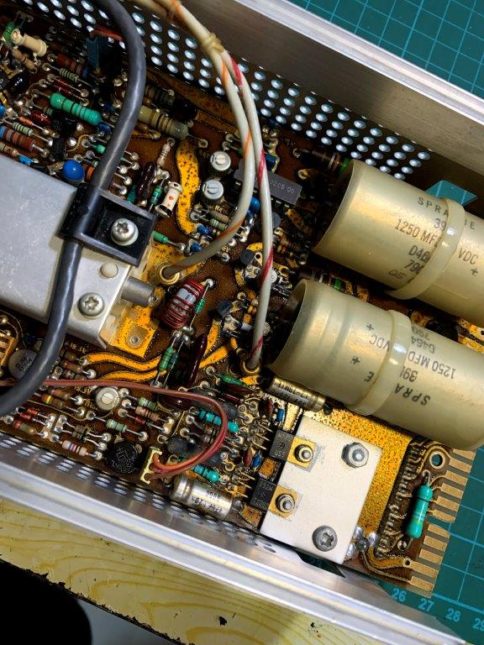
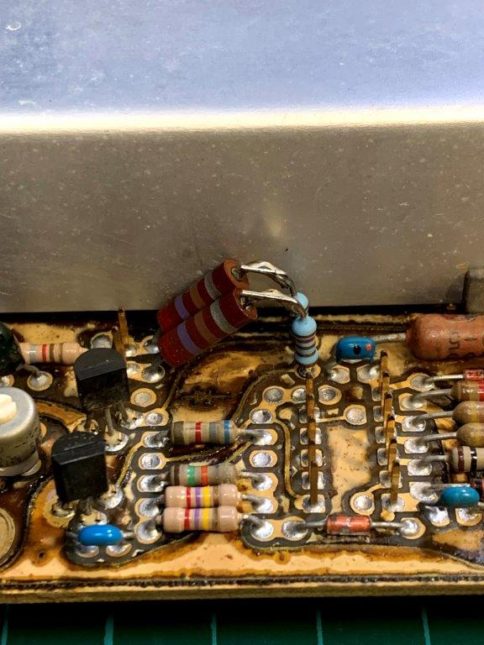
Main board 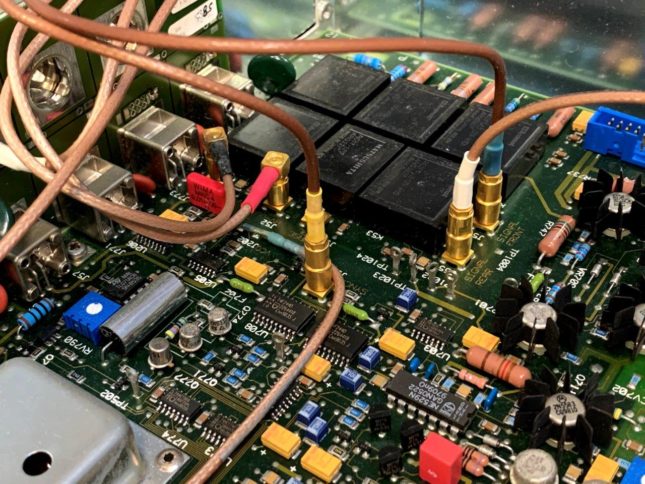
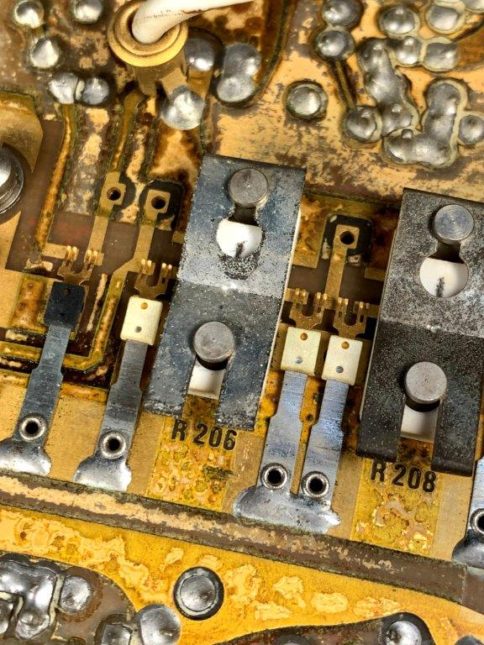
Output section, relays 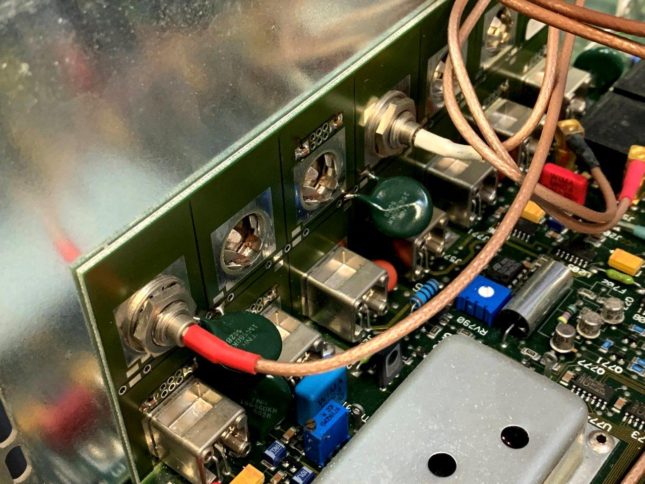
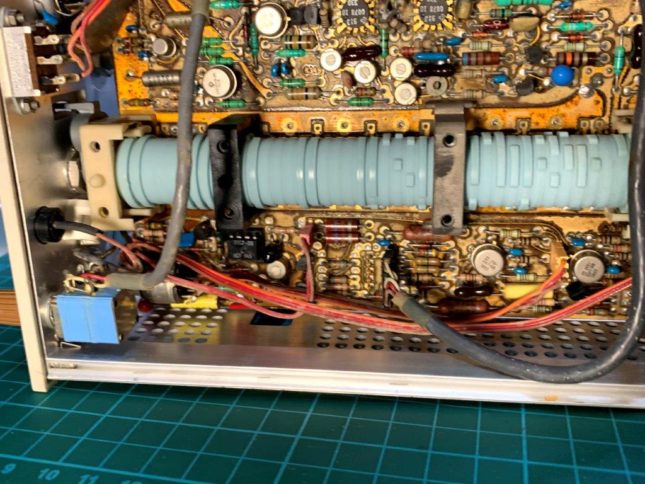
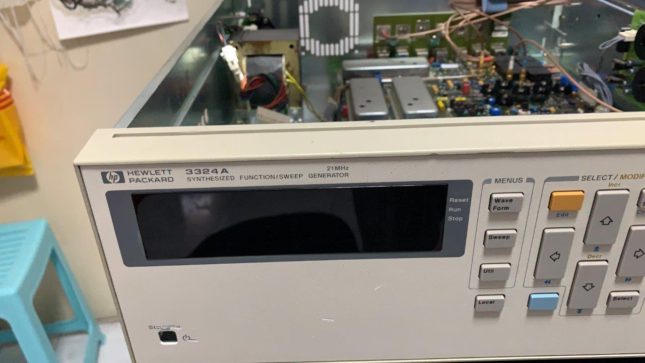
Rear side 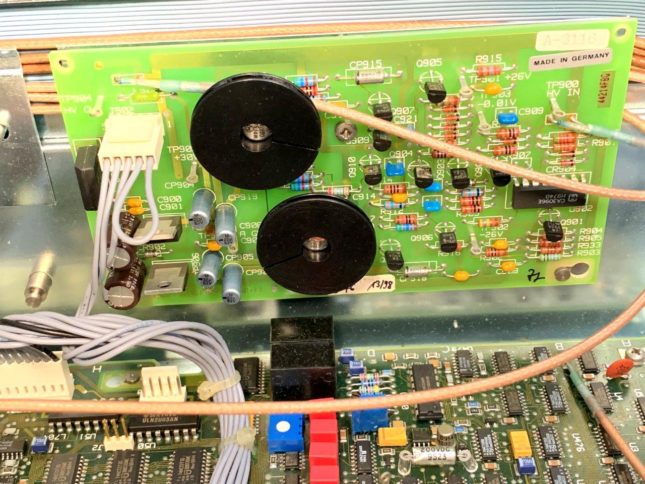
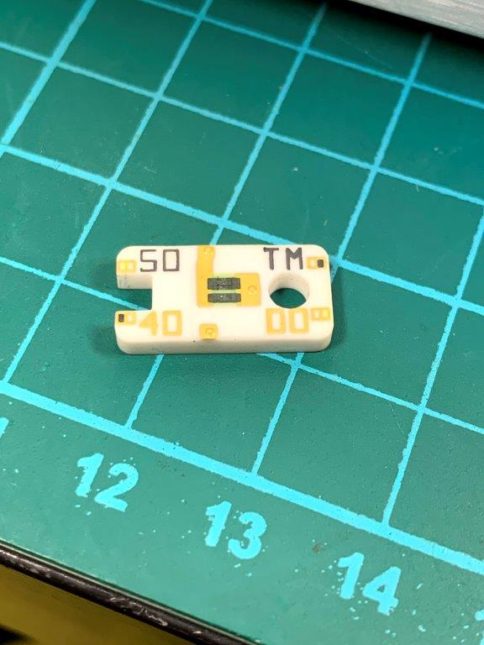
High level o/p option 
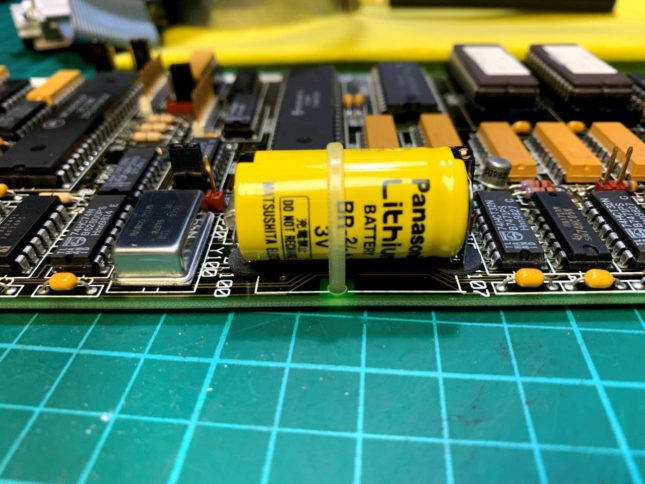
Battery is still above 3V 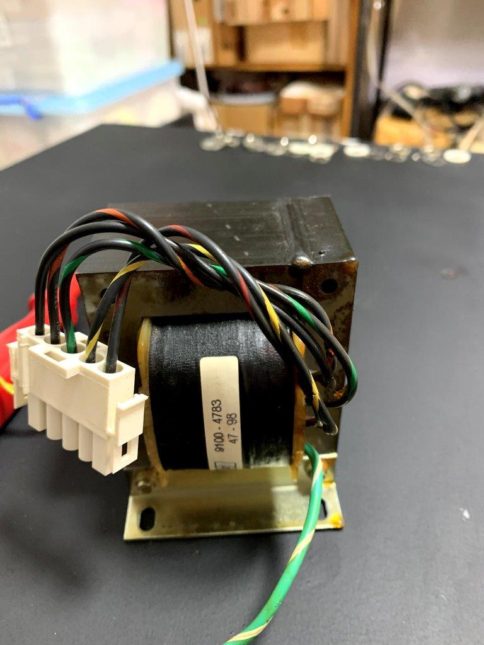
Transformer 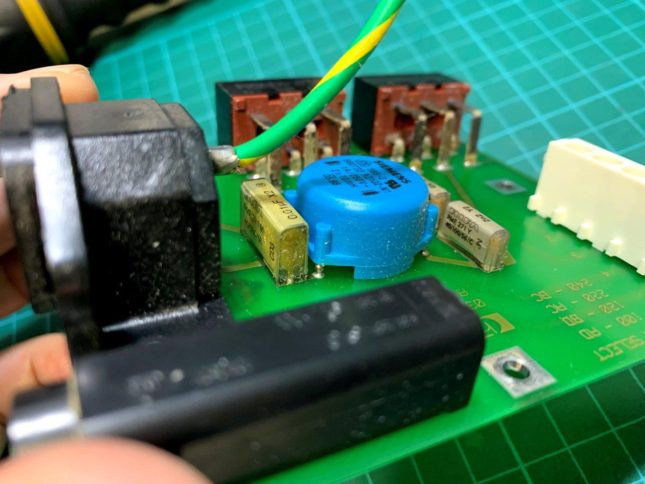
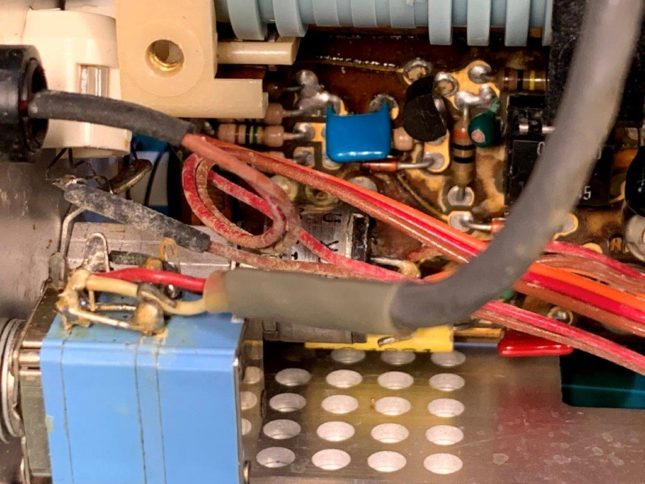
X2 and Y capacitor see crack issues 
X2 and Y caps replaced 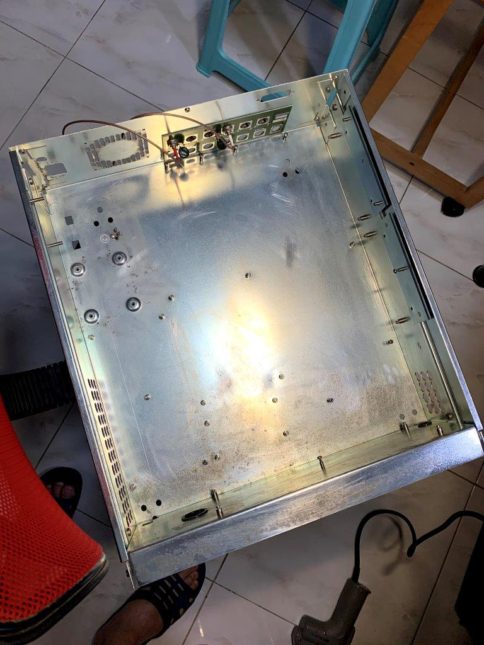
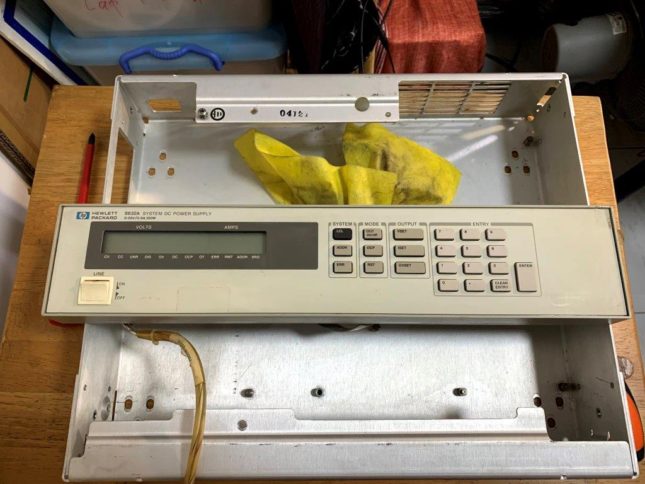
Case is clean with WD-40 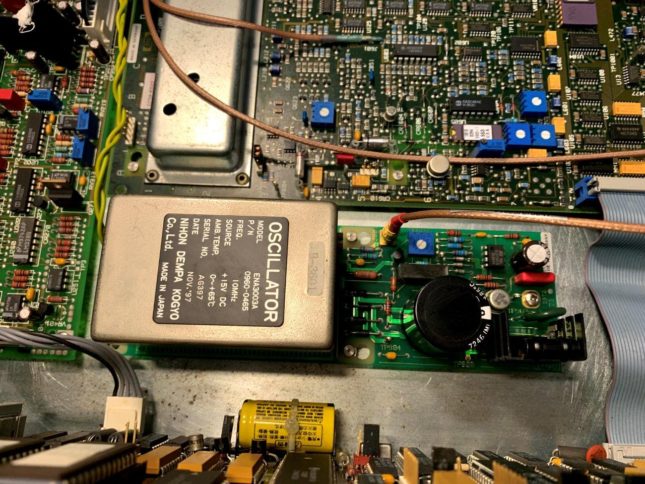
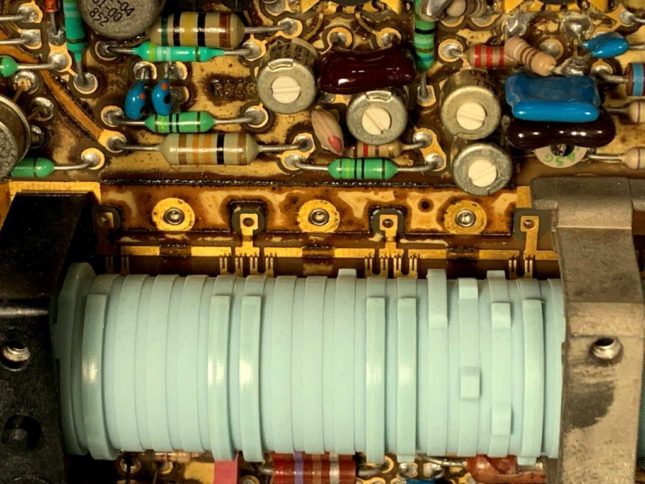
10Mhz option 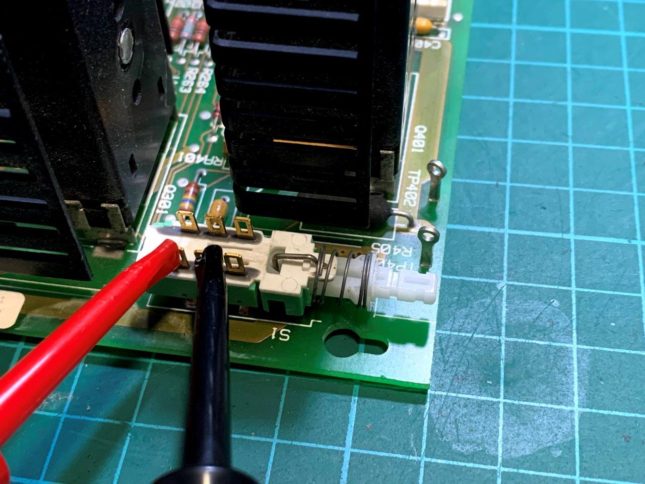
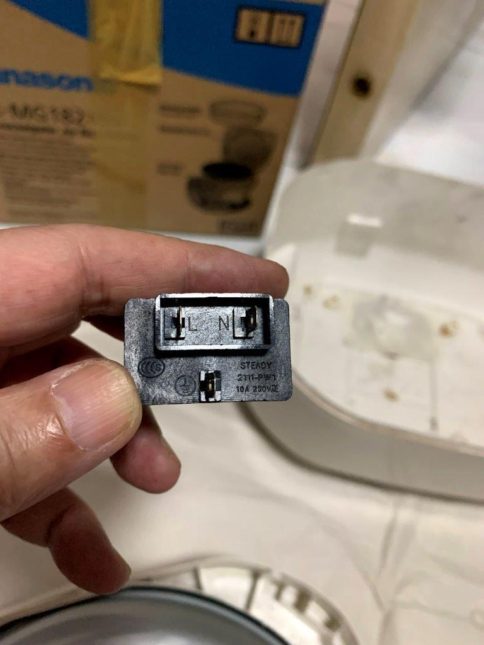
The two connected pins is OPEN when the switch is pressed at ON position.