FET Audio | Hi-End Audio & Electronics DIY Electronics & Repair

March 3, 2025

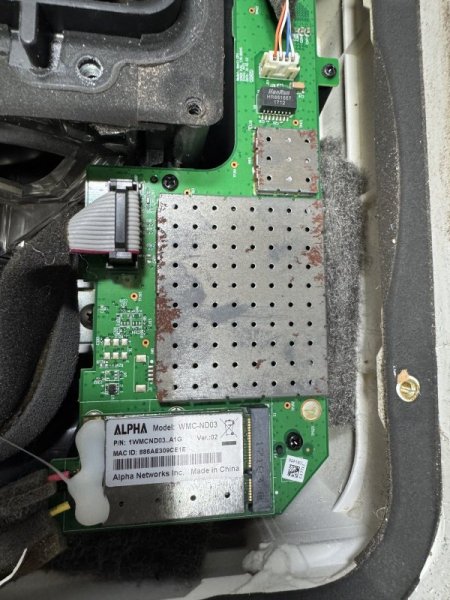
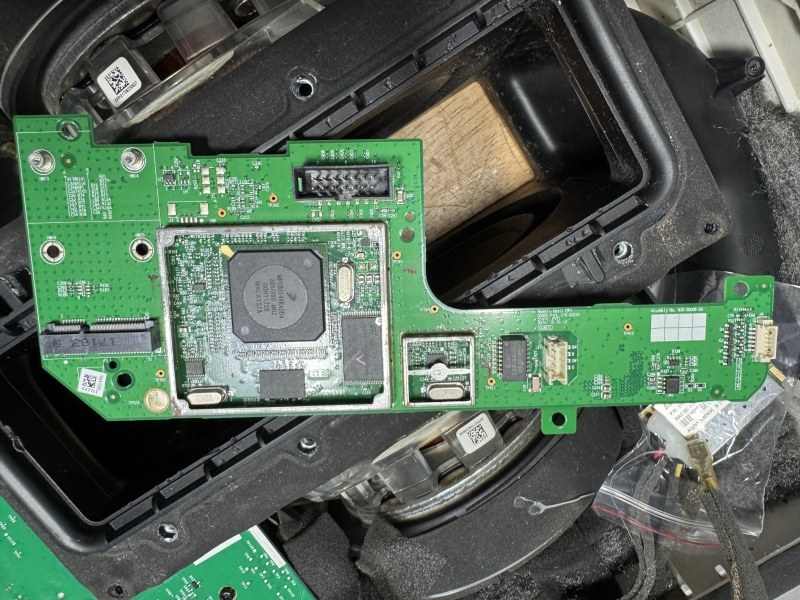
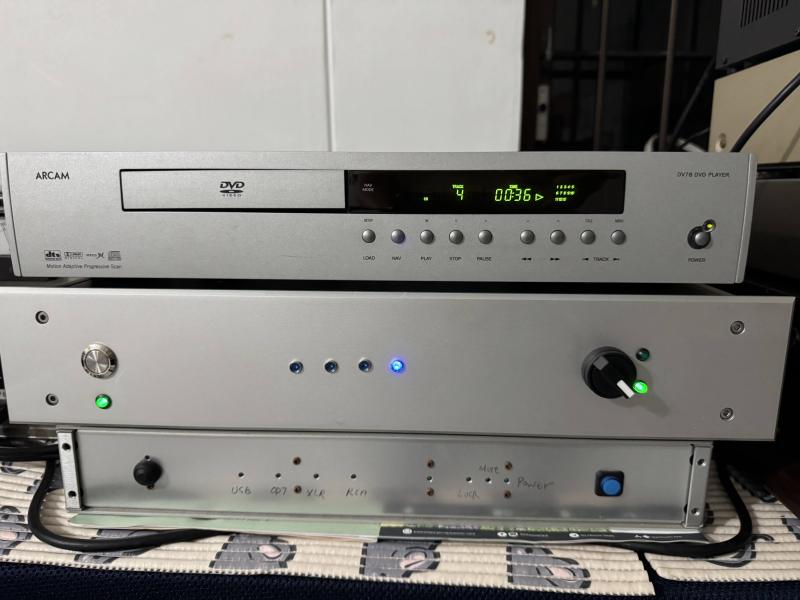
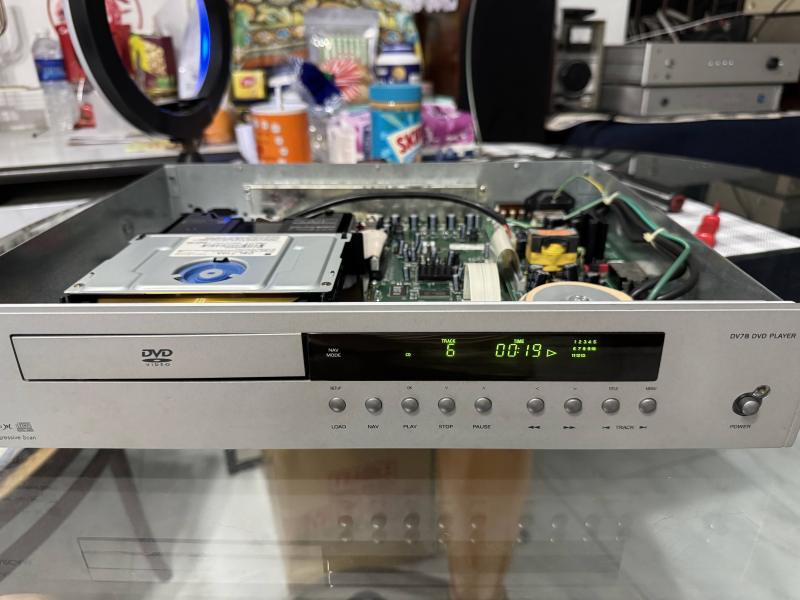
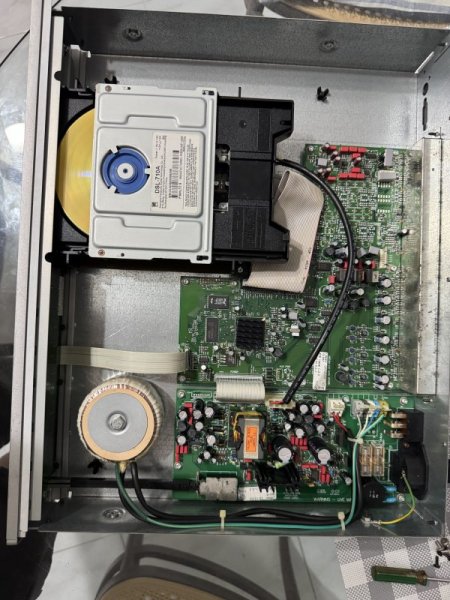
Arcam DV78 repair – no disc

Filed under: Uncategorized — Spencer @ 12:11 am

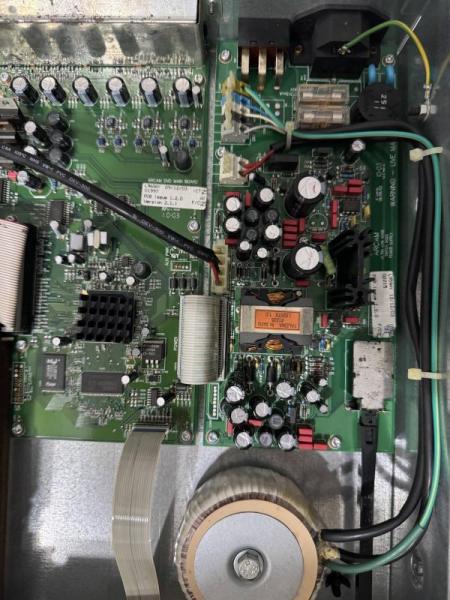
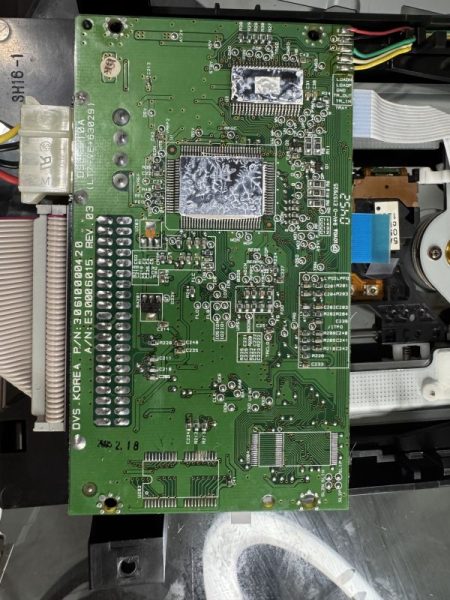
Is it laser issue?  Not really.  It is a good build DVD player by Arcam but use a Korean DVD rom with poor components – capacitors.

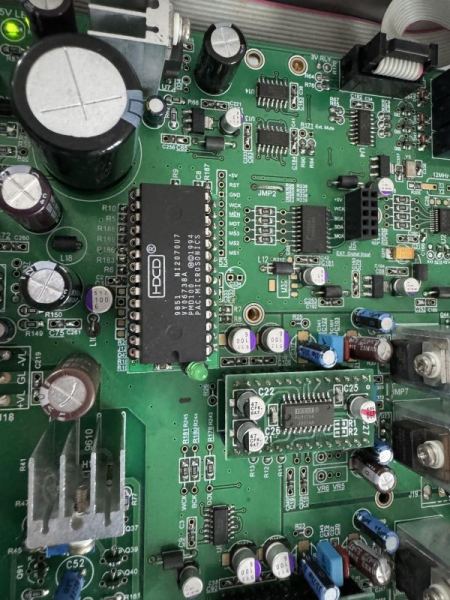
The main board and power supply board all use Japanese capacitor and audio grade!  What a waste for this WM8740 DAC also.

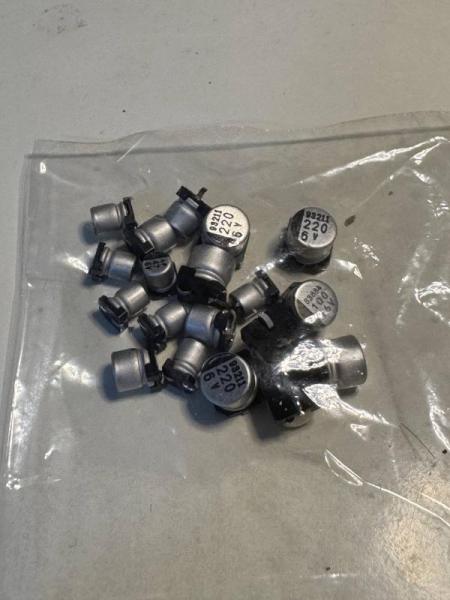
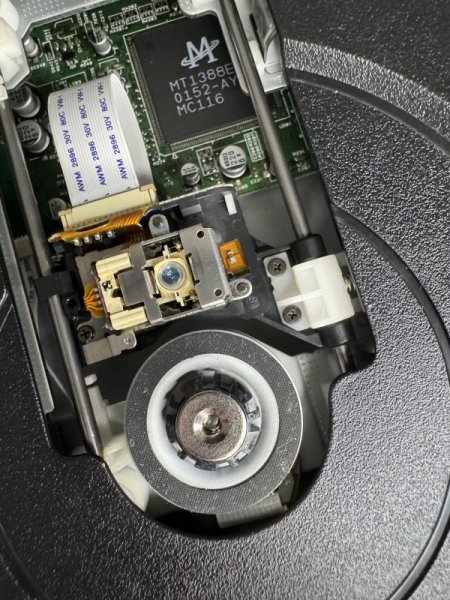
I take out the dvd rom and use a USB to parallel connector to put that into my computer but the rom cannot detect CD or DVD.  I am think it is the laser issue.  Later I observed one capacitor body a bit dirty and looks like chemical contamination.  I take it out and measure it, oh it cannot be measure at all!  totally dead.  Thus I start to take out few more capacitors and found most of them are almost dead or left 10-20% of capacitance value with high internal resistance.  So action is to change all the smd capacitor on the dvd rom.  After that the computer connector is able to read CD and DVD disc!!!

As usual, do clean up and touch up with paint pen on any rusty casing on the set.

Lesson Learnt, do not use Korean made spare part in your high end product!  they all use cheapy capacitors which can last 5-10 years only.

Still have a bit issue as some CD cannot be read when power up.  Only able to read after playing for 15 mins.  Anyway I have order a laser head for this CD rom drive and will replace it to see if better.
Related Images:

March 2, 2025

D1V2 Zen use PMD100 digital filter

Filed under: DAC — Spencer @ 11:57 pm

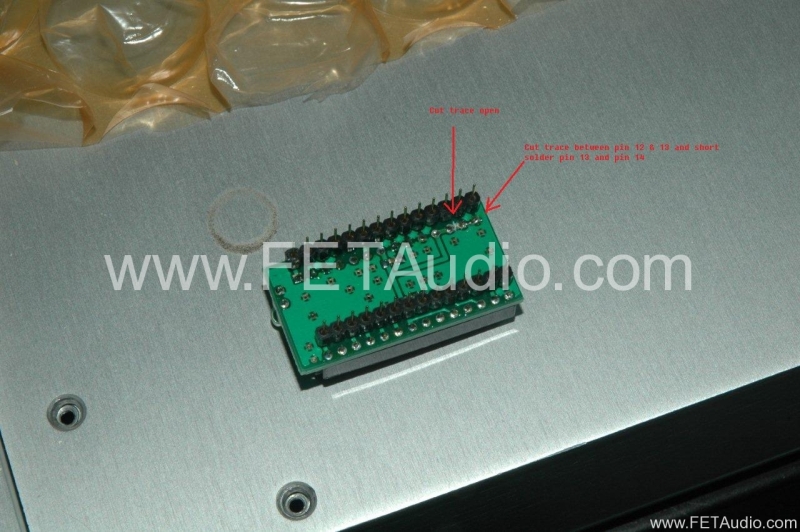
Use the old PMD100 to SM5842 board as I still have it on hand.  But need cut trace as what is 

For PMD100 converter board, cut trace between pin 12 and 13.  Short the pin 13 to pin 14 (ground) – PMD100 set to 16 to 24 bit input mode with Left Justified 24 bit.

If you want to change the PMD100 converter board to 24 bit ouput mode (for PCM1704), you have to set pin 10 from L (ground) to H (5V). Short pin 10 to pin 11 if you can isolated the ground connection on pin 10.  Then you have 24 bit output mode.

I use a new converter board so that cutting the ground connection for pin 10.  It is a bit difficult as need to do on both side of trace, after then put a smd 0 ohm resistors for pin 11 and pin 10.  

For WM8804, also need to set to L justified mode by putting the two 10k ohm resistor to the correct position as in photo (R214 and R215).

PMD100 sound very different from DF1704 and DF1706.  It is more clear and also smooth in mid and thus more musical feels.  I think it sound better!!!  Some people say PMD200 is even better!  Need to try in future.

Related Images:

Boston Acoustics RV600 repair

Filed under: Speaker — Spencer @ 11:33 pm

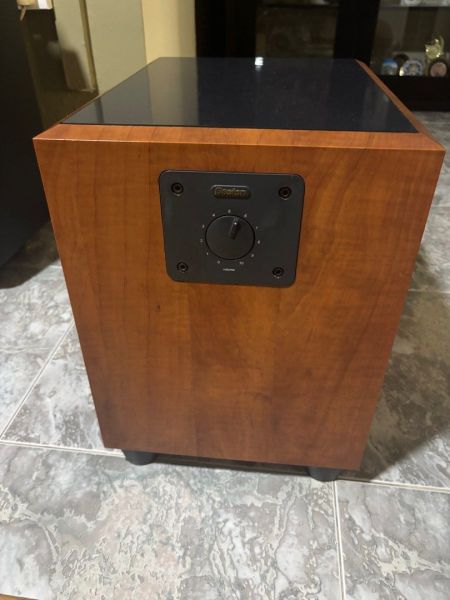
This is a 22 yrs old subwoofer and got it for 20 usd.  Symptom is no power up.

Main issues are:

Capacitors on power all dried up except the signal path BP capacitors.  Action: changed

Transformer plastic crack and brittle.  Action: Put hot melt

Socket on amp board plastic crack and damage: remove socket and solder the wire direct on board, other side has socket and thus good enough.

A bit oscillation at the first J111 Q6 due to the volume wire is too long for the op-amp feedback path.  Add 250pF cap to ground at J111 Drain pin.

The speaker is re-cone but it still works.  Thus no need change or repair.

Since it only have one channel input for filter and I make it into left and right.  Add one more RCA for the LFE channel for AV amp output.  Disable the speaker input as it is not necessary or way to risky for the connection.


Related Images:

January 29, 2025

Sony TA-333ESG repair

Filed under: Uncategorized — Spencer @ 4:40 pm

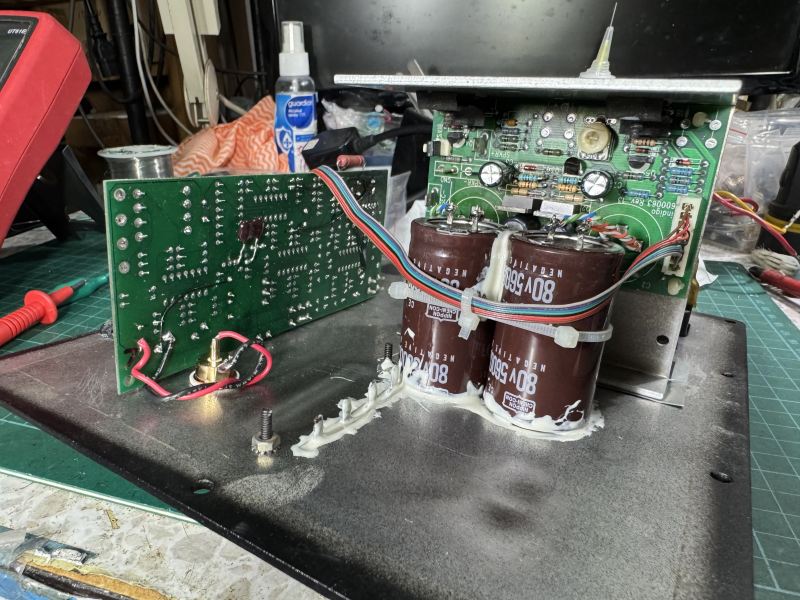
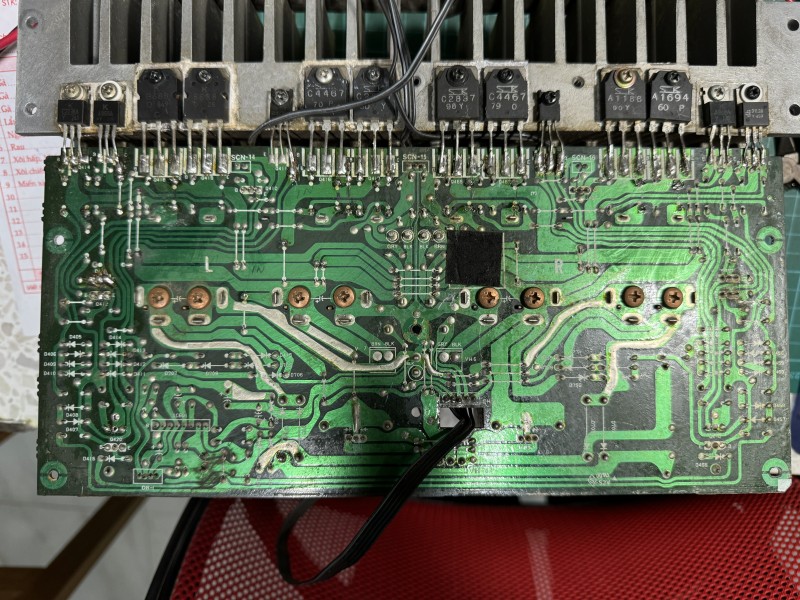
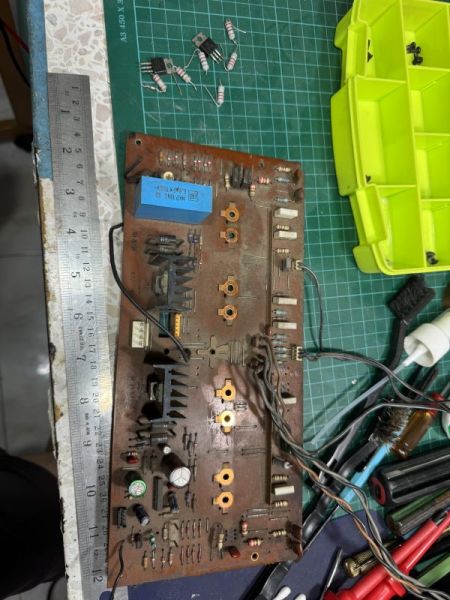
Got this for $100 SGD with bad conditions and repair before by some unprofessional people. Power board use mix of power and driving transistors!  Missing big filter caps cover and metal support x 3 pcs!  PCB crack under the big cap due to movement.  This is really a old set and heavy beast. 

Repair done:

Remove all grease on pcb.

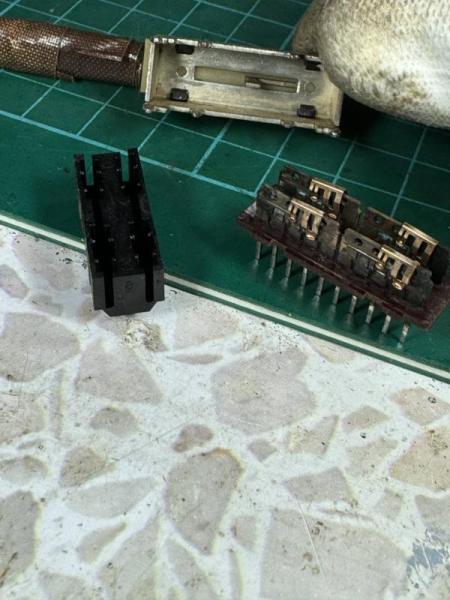
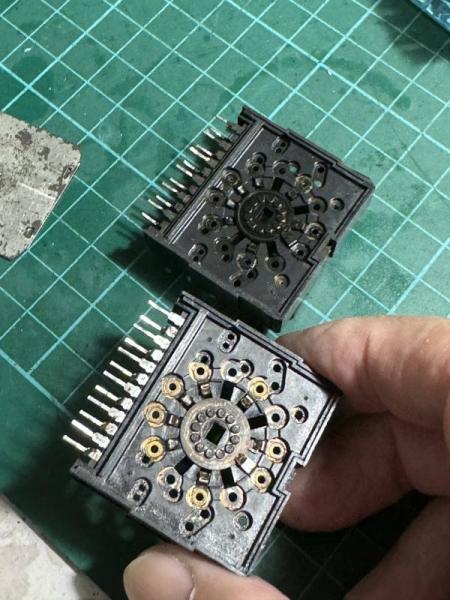
Clean and polish all the switches, then put contact oil to protect it.

Change all power and driver transistors to match pairs.

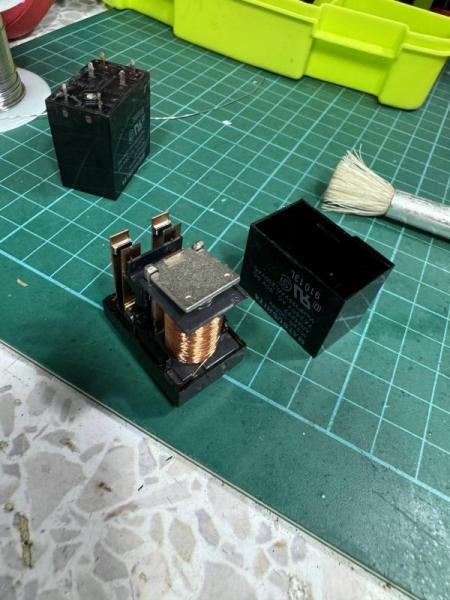
Clean and polish relay contact.

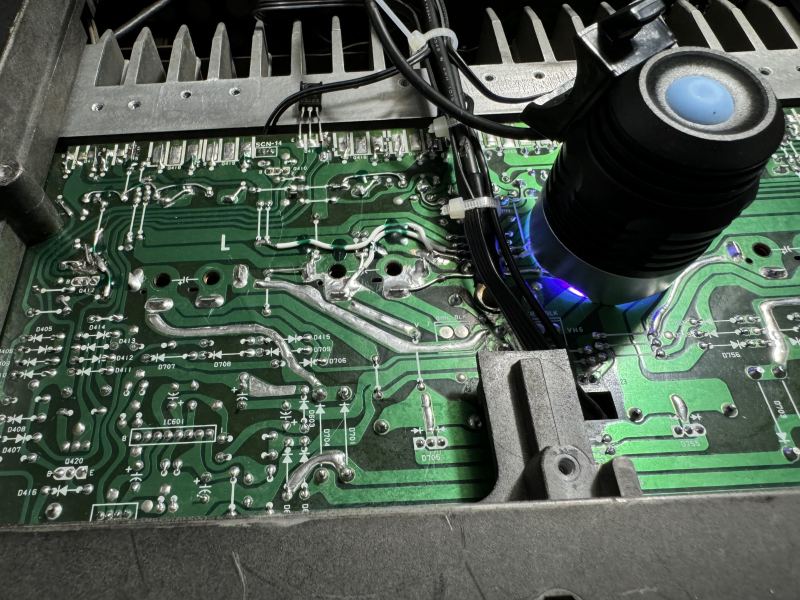
Repair crack pcb with wires, solder and solder mask.

Repair the wood board with wood wax.

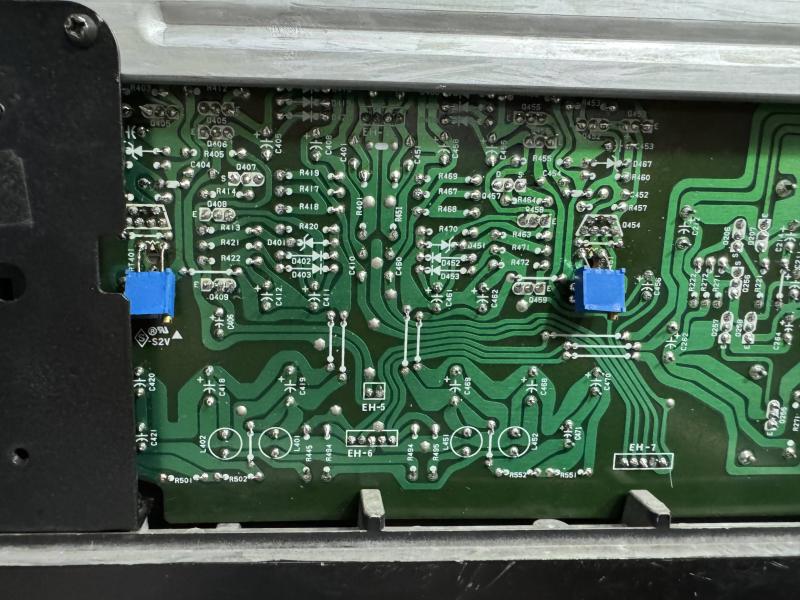
Change the bias VR to 10 turn type for accurate adjustment.

Make metal support frame and cut big capacitor holder to secure it to prevent movement.

Finally all cleaning and painting of the cover to prevent rust.

Total repair many manhours!

Enjoy some pictures.


Related Images:

SONOS SUB v1 Repair

Filed under: Speaker — Spencer @ 4:06 pm

Please watch the youtube for repair: https://www.youtube.com/watch?v=xdTP5gev3Ew

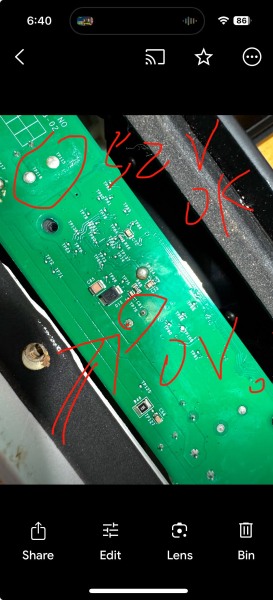
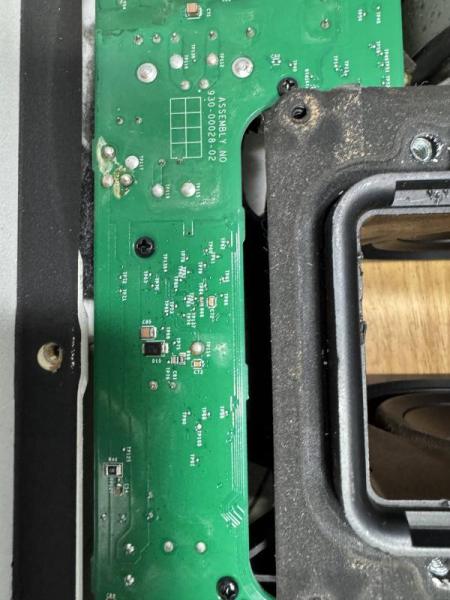
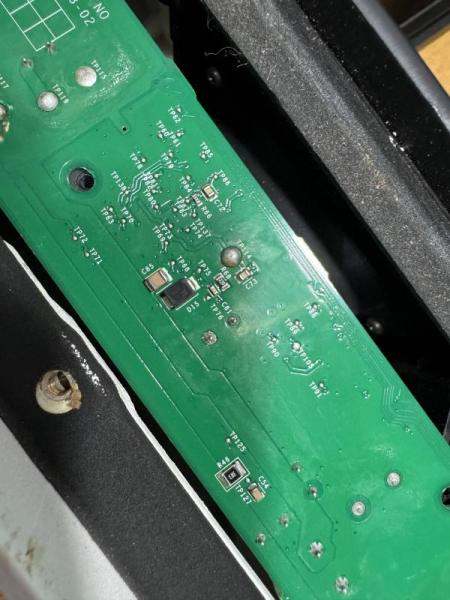
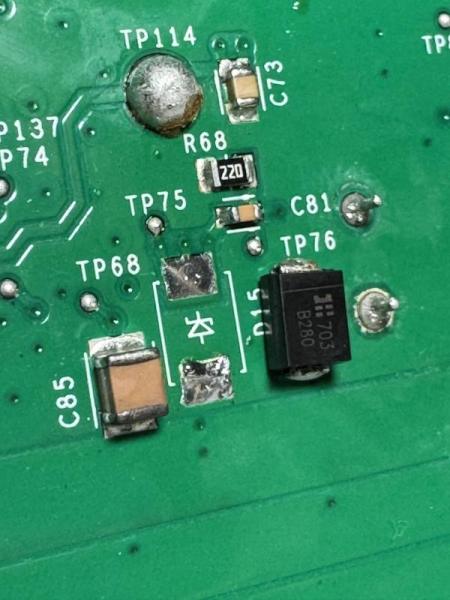
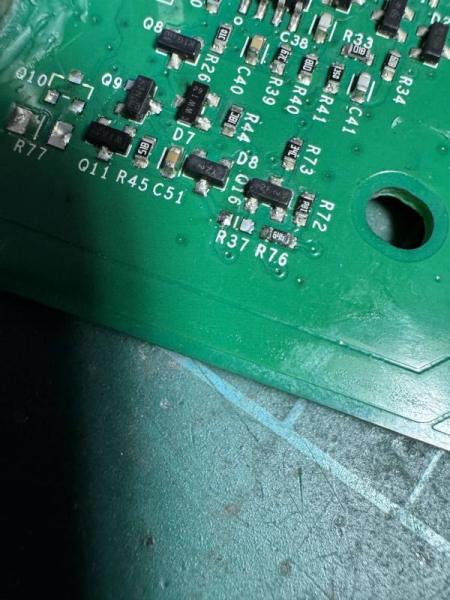
The failure mode is cannot power up.  Root cause is due to supply to digital board supply NG.  Changes D15, Q10, R77, R37 and Q16 (no need change as it still working). and set back to normal.

Note the cover is rusty and remove it and polish it to remove rust, then paint it with silver pen.


Related Images:

« Newer PostsOlder Posts »

Powered by WordPress